How to Laser Engrave Stainless Steel
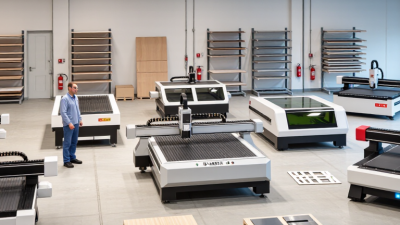
Stainless steel looks simple until the first test mark comes out pale, uneven, or wider than expected. How to laser engrave stainless steel depends on the machine, the alloy, and the finish you want. A fiber laser can usually mark bare stainless steel directly, while other laser types may need a suitable marking compound. The details matter.
This guide explains how stainless steel laser engraving works and what to check before making a finished part. You will learn how focus, power, speed, frequency, and line spacing affect the result. A small test coupon can reveal more than a long list of preset settings. Even a slight change in focus can soften fine text or alter the mark’s color. Small details matter.
The goal is a clean, repeatable mark—not simply the darkest one. Excessive heat can discolor the surrounding surface or distort thin material. That is easy to miss. Begin with a clean, dry workpiece, secure it flat, and test settings on matching scrap whenever possible. Keep the lens and work area clean, and follow the laser manufacturer’s instructions for enclosure, extraction, and eye protection. Results vary between machines, so treat suggested settings as starting points rather than guarantees. It can be tempting to chase a darker mark; sometimes that makes the finish worse. A careful test, viewed under consistent lighting, helps you judge depth, contrast, and edge quality before engraving the final piece.
Identify Stainless Steel Grades: Stainless Steel Contains at Least 10.5% Chromium
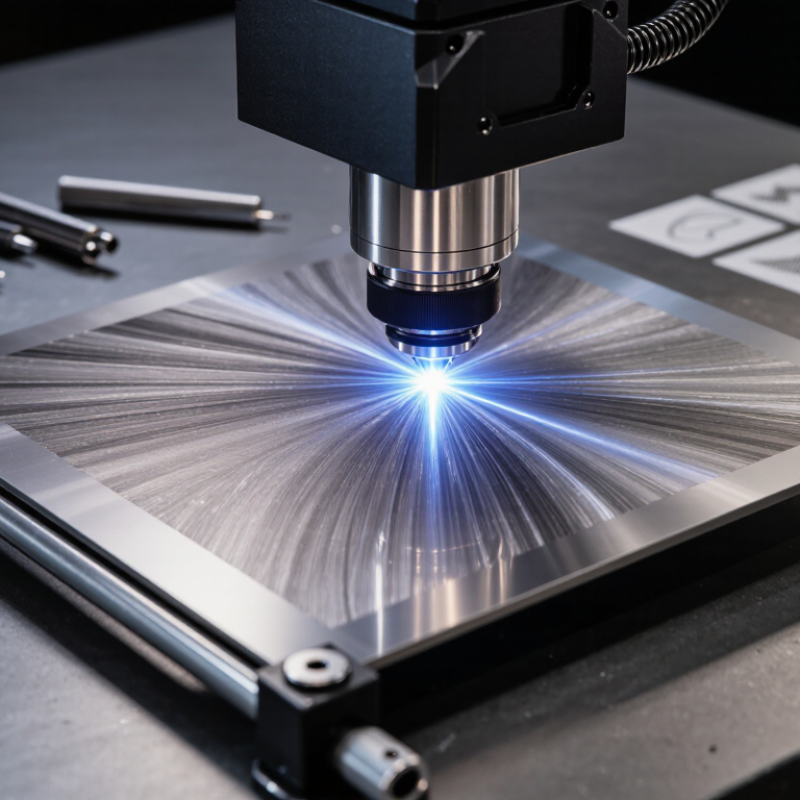
Stainless steel is not one uniform material. It contains at least 10.5% chromium by mass, which helps form a thin, protective oxide layer on its surface. Small differences matter. Grades may also contain nickel, molybdenum, or other elements, changing their hardness, corrosion resistance, and response to a laser. For example, common 304 and 316 grades have different alloy compositions, so identical laser settings may produce different contrast or depth. A shiny finish can also reflect light differently from a brushed one.
Check the grade certificate or supplier documentation before choosing settings. If those records are missing, material analysis can help; a magnet test alone is not reliable because some stainless grades are magnetic and others are not. This is an easy detail to overlook. For engraving, begin with a clean offcut from the same material and test a small range of power and speed settings. Look closely at the mark under consistent lighting. A dark surface mark may be an oxide-color change, while engraving removes material, so do not assume every visible mark has depth. Even a careful setup may need adjustment when the sheet’s finish or batch changes. I would record the grade, finish, and settings together; otherwise, a successful result can be hard to repeat.
Choose a 1064 nm Fiber Laser for Stainless Steel Marking
A 1064 nm fiber laser is a practical choice for marking stainless steel because it can produce fine, durable marks on a range of common finishes. The right result depends on the alloy, surface condition, and laser settings. A polished sheet may reflect more light than a brushed one, so the same settings can create different marks. The World Stainless Association’s Stainless Steel in Figures 2024 reports 58.4 million tonnes of stainless steel production in 2023, underscoring the material’s broad industrial use. That scale makes repeatable marking valuable, but it does not make one preset suitable for every part.
For dark annealed marks, controlled heating changes the surface oxide; engraving instead removes material. Pulse energy, speed, frequency, and focus all affect the result. Start with a clean test coupon from the same alloy and finish as the production piece. Inspect the mark under consistent lighting, then adjust one setting at a time. It takes patience. A crisp-looking mark is not automatically the best one: excessive heat can discolor nearby areas or affect a thin part. This is an easy detail to overlook.
Tips: Secure the workpiece flat, focus on its actual surface, and run a small grid of settings. Record the settings with the alloy and finish. Check contrast and legibility after cleaning; if the mark varies, revisit focus and surface consistency before increasing power.
Clean, Fixture, and Focus the Workpiece Before Engraving
How to Laser Engrave Stainless Steel
Clean, Fixture, and Focus the Workpiece Before Engraving
Before engraving, clean the stainless steel with a suitable residue-free cleaner and a lint-free cloth. Fingerprints, cutting fluid, and dust can leave uneven marks. Let the surface dry fully. Avoid scrubbing with materials that may scratch the finish or transfer unwanted particles. A clean surface helps you judge the result more accurately. It is a small step, but easy to rush.
Secure the workpiece flat on the bed or in a stable fixture. Even slight movement can blur fine lines, especially on small lettering. Check that clamps do not cover the design area or tilt the metal. Then set focus according to the lens and machine instructions, using the focus gauge or method provided for your equipment. Stainless thickness and surface shape can complicate this. Recheck the focus if the sheet rocks or bows. A quick test on a matching offcut can reveal problems before the main piece is marked.
Tips: Wipe in one direction with a fresh section of cloth, and wear clean gloves after cleaning. Confirm the workpiece cannot shift with a gentle touch. Test the focus and settings on scrap from the same material when possible; a leftover piece may not match perfectly, so inspect it closely. Keep the laser’s required safety controls in place, and follow the equipment instructions.
Tune Power, Speed, Frequency, and Hatch Using a Test Grid
A useful stainless-steel test grid changes one variable at a time, so each mark explains something. Keep the same alloy, surface finish, focus, and cleaning method across the grid. For a fiber laser, compare power at three levels around your normal setting, then repeat with speed, frequency, and hatch spacing. Label every square. Keep it dry.
Use a consistent hatch direction and inspect each mark under the same light. A pale mark may need a slower pass, while a dark, rough patch can signal excess heat. Check edge sharpness and color, not just brightness. My first grid is rarely elegant; overlapping variables make the results hard to read. ASTM A240/A240M lists Type 304 stainless steel at 18.0–20.0% chromium and 8.0–10.5% nickel. That composition is a reminder that settings may not transfer cleanly between grades or finishes. Small shifts matter. Change hatch spacing only after you find a stable power, speed, and frequency combination, then record the best result beside the actual material and settings.
How to Laser Engrave Stainless Steel - Tune Power, Speed, Frequency, and Hatch Using a Test Grid
Example starting-point test grid for a 30 W pulsed fiber laser on clean, polished 304 stainless steel. Each row is a separate test cell; use one pass and keep focus, lens, material, and surface preparation consistent. Appearance is a qualitative guide, not a guaranteed result.
| Cell |
Power |
Speed (mm/s) |
Frequency (kHz) |
Hatch spacing (mm) |
Passes |
Typical result to check |
| A1 | 20% | 600 | 30 | 0.03 | 1 | Light mark; inspect for low contrast. |
| A2 | 20% | 900 | 30 | 0.03 | 1 | Usually lighter than the slower-speed test. |
| A3 | 20% | 1200 | 30 | 0.03 | 1 | Faint mark is possible; compare contrast. |
| A4 | 20% | 1500 | 30 | 0.03 | 1 | May be too light for a readable mark. |
| B1 | 30% | 600 | 30 | 0.03 | 1 | Stronger mark; watch for excess surface texture. |
| B2 | 30% | 900 | 30 | 0.03 | 1 | Useful middle setting to compare for contrast. |
| B3 | 30% | 1200 | 30 | 0.03 | 1 | Moderate energy input; check for an even mark. |
| B4 | 30% | 1500 | 30 | 0.03 | 1 | Faster marking may reduce darkness or depth. |
| C1 | 40% | 600 | 30 | 0.03 | 1 | High energy input; inspect for roughness or discoloration. |
| C2 | 40% | 900 | 30 | 0.03 | 1 | Compare readability with the lower-power cells. |
| C3 | 40% | 1200 | 30 | 0.03 | 1 | A balanced test point for evaluating a clean mark. |
| C4 | 40% | 1500 | 30 | 0.03 | 1 | Higher speed offsets some of the power increase. |
| D1 | 50% | 600 | 30 | 0.03 | 1 | Very high energy input; check for unwanted deep etching. |
| D2 | 50% | 900 | 30 | 0.03 | 1 | Check whether extra power improves contrast or adds roughness. |
| D3 | 50% | 1200 | 30 | 0.03 | 1 | Compare mark uniformity and surface finish. |
| D4 | 50% | 1500 | 30 | 0.03 | 1 | Useful high-speed comparison; assess contrast after cleaning. |
To tune hatch spacing, repeat the best-looking power and speed combination with hatch values such as 0.02, 0.03, and 0.05 mm. For a separate frequency comparison, hold the other settings constant and test frequencies supported by the laser, for example 20, 30, and 40 kHz. Results vary with the laser source, pulse characteristics, lens, focus, and stainless-steel finish.
Inspect Mark Contrast, Depth, and Heat-Affected Areas After Engraving
After engraving stainless steel, inspect the mark under the same lighting used for acceptance checks. Compare it with an untouched area for contrast, edge clarity, and discoloration. A phone photo can help, but it is not a calibrated measurement. For repeatable records, note L*, a*, and b* values using the CIE colour space defined in ISO/CIE 11664-4:2019. Small changes matter. Also record the laser settings and material finish; brushed and mirror-polished surfaces can make the same mark look different.
Check depth with a profilometer or focus-variation instrument, not by touch alone. ISO 25178-2:2021 defines areal surface-texture parameters such as Sa and Sz, which help describe surface changes consistently. Inspect several spots, including the mark’s center and edges. Look for raised rims, pits, or roughness that may indicate excess heat. A faint straw-coloured halo can signal heat-affected areas; compare it with the surrounding steel and check whether the colour persists after cleaning. My first visual pass can miss a narrow halo, so I recheck under angled light.
Tips: Photograph a fixed sample area, measure contrast and depth at repeatable locations, and keep a simple log. If the mark is uneven, change one laser setting at a time, then inspect again. Don’t chase darkness alone; excessive heat can widen the affected zone.