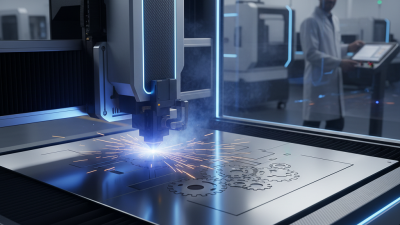
10 Laser Engraving Tips for Buyers to Know

Choosing a laser engraver is less about chasing the highest wattage and more about matching the machine to your work. A small studio making personalized wooden tags has different needs from a shop marking metal parts every day. The right choice depends on materials, workspace, production volume, and the detail you expect to see. A fine line on screen may look soft on wood if focus, speed, or power is off. Small details matter.

Laser applications specialist Maya Chen offers this buyer’s reminder: “Buy for the materials and jobs you will actually run, not the specifications that look impressive on paper.” Use that idea to guide the ten tips ahead. They cover laser type, usable work area, power, software, focus, ventilation, maintenance, and supplier support. Check sample results on your own materials when possible. Ask what setup produced them, and whether the sample reflects everyday operation. A polished demonstration is useful, but it cannot answer every question.

There are trade-offs. More power may improve speed, yet it does not guarantee cleaner edges or finer detail. A larger bed can be helpful, but it may take space you do not have. Test before scaling. Even experienced buyers can overlook noise, extraction needs, or the time required to prepare files. I would not treat any single specification as a shortcut to a good purchase. The following tips offer a practical checklist for comparing machines, asking better questions, and choosing a laser engraving system that fits your real workflow.
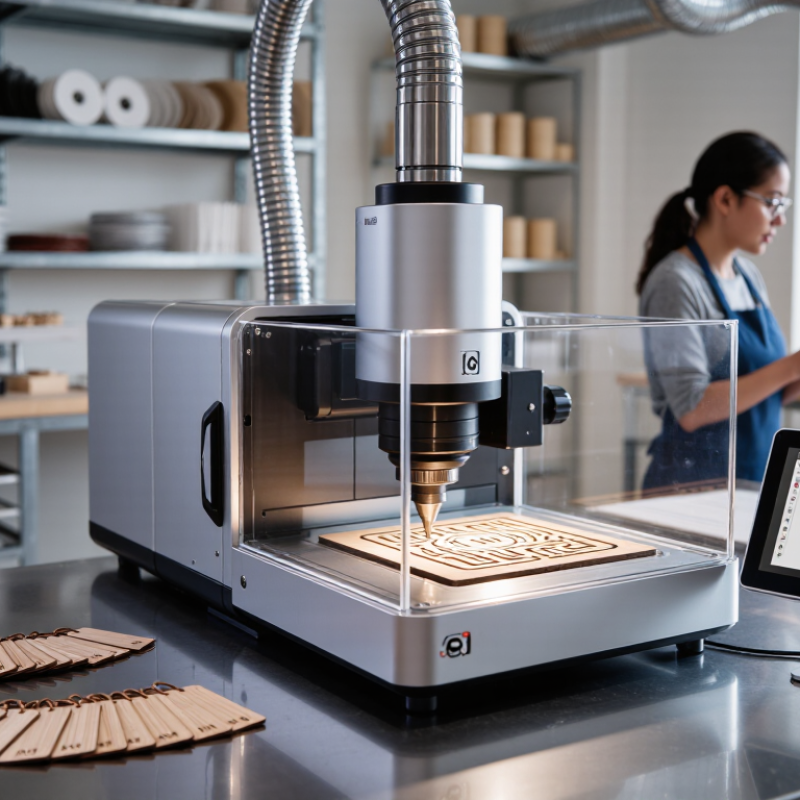
10 Laser Engraving Tips for Buyers to Know

Choose the Laser Type by Wavelength: Diode 450 nm, CO₂ 10.6 μm, or Fiber 1,064 nm

Match the laser wavelength to the material before comparing machine power. A diode laser near 450 nm emits visible blue light and can mark many woods, coated metals, and some dark materials. Results depend heavily on surface color and finish. Clear acrylic, for example, may let much of the blue light pass through instead of engraving cleanly. Test a scrap first.

A CO₂ laser at 10.6 μm is commonly suited to wood, paper, and many acrylics. It generally will not mark bare metals effectively without a compatible coating. A fiber laser at 1,064 nm is often chosen for bare metals and durable identification marks. It can also process some plastics, but the result varies with the polymer. Check the material supplier’s guidance before running an unfamiliar sample.

Wavelength is only part of the decision. Power, focus, speed, and material thickness also shape the finished mark. A small test grid on an offcut can reveal whether the surface chars, melts, or barely changes. Keep ventilation and material compatibility in mind, too. I would not treat a wavelength chart as a guarantee; coatings and mixed materials can behave unexpectedly. That detail is easy to miss.

Match Rated Power to Material; Wattage Alone Does Not Predict Engraving Quality

Rated power tells you how much optical energy a laser can deliver, not how cleanly it marks a particular material. ISO 11146-1:2021 treats beam width and beam propagation as measurable characteristics distinct from output power. That distinction matters: a broad or poorly focused spot can soften fine lettering, even on a high-wattage machine. Check the focal spot, pulse behavior, and the material’s response—not just the number on the specification sheet.

Compare settings with a small test grid on your actual stock. For example, nominal line energy is power divided by travel speed: 20 watts at 100 millimeters per second equals 0.2 joules per millimeter; 40 watts at 400 millimeters per second equals 0.1. These are calculated examples, not quality ratings. On a thin wood sample, excessive energy may char edges; on coated metal, a controlled pass may preserve crisp details. Keep focus and material thickness consistent, then inspect both the mark and the reverse side. A missed detail: surface coatings and moisture can change results between batches. That uncertainty is real. Buy for usable control across your intended materials, and ask for test settings or sample results at comparable speeds and spot sizes.

10 Laser Engraving Tips for Buyers to Know — Match Rated Power to Material; Wattage Alone Does Not Predict Engraving Quality

Compare a machine’s actual capabilities with the materials, detail level, and workflow you expect to use. Specifications are starting points; test results on your own material are the best confirmation.

Tip What to Compare Practical Buyer Check Why It Matters
01 Match rated optical output to the material Check whether the stated wattage is laser optical output or electrical input, and confirm the manufacturer’s material guidance. Different materials absorb different laser wavelengths. Higher wattage does not make an unsuitable laser type effective on every material.
02 Choose the laser type for the job Compare wavelength and intended use: CO₂ systems are commonly used for wood and many acrylics; blue-diode systems are often used for wood and selected coated materials; fiber systems are commonly used for metal marking. Material response depends on wavelength and surface properties, not wattage alone. Check compatibility for the exact material and finish.
03 Look beyond wattage for detail quality Review spot size, focus adjustment, motion accuracy, and example results at the size of engraving you plan to make. Fine detail depends on how precisely the beam is focused and positioned, as well as on material, settings, and machine condition.
04 Check the usable work area Measure your typical workpieces and allow room for positioning, fixtures, and any required clearance. A larger work area can accommodate bigger items, but it does not by itself improve engraving quality or ensure consistent results across the bed.
05 Confirm focus and height adjustment Look for a clear focusing method and enough adjustment range for the thicknesses you expect to process. Correct focus helps produce a controlled mark. Material height changes can affect focus and the finished result.
06 Evaluate motion and repeatability Ask how the machine handles repeated jobs, alignment, and positioning; inspect sample engravings for clean edges and consistent placement. Mechanical stability and accurate motion affect line placement and repeatability, regardless of the laser’s rated power.
07 Check air assist and fume extraction Determine whether air assist and suitable exhaust or filtration are included, optional, or must be supplied separately. Airflow can help clear smoke and debris from the work area. Adequate ventilation is important because engraving can produce fumes and particles.
08 Ask about passes, speed, and throughput Request settings or sample results for your material and consider how many passes a typical job needs. Power, speed, focus, material, and pass count work together. A higher-power machine may reduce processing time in some cases, but results vary by job.
09 Test the exact material before buying in volume Use a small sample of the same material, coating, and thickness; compare legibility, contrast, edge quality, and repeatability. Material composition and surface finish can change the result, even when two items appear similar. A sample test is more informative than a wattage claim alone.
10 Verify safety and material restrictions Check enclosure, interlocks, eye protection guidance, ventilation requirements, and the machine’s approved-material list. Do not engrave PVC or unknown plastics. Laser work involves intense light, heat, fire risk, and potentially hazardous fumes. PVC and vinyl can release corrosive, hazardous gases when heated or burned.
Buyer takeaway: Compare rated optical power only after confirming laser type and material compatibility. For engraving quality, also assess focus, spot size, motion, material consistency, ventilation, and real sample results.

Compare Spot Size and Resolution: DPI Does Not Equal Optical Detail

A machine’s DPI setting describes addressable positions, not the laser’s true optical detail. At 300 DPI, raster lines are about 84.7 micrometres apart; at 600 DPI, about 42.3 micrometres. Those are spacing figures, not guaranteed spot diameters. The focused spot also depends on wavelength, beam quality, lens, and focus. ISO 11146-1:2021 specifies methods for measuring laser-beam widths, highlighting why optical performance needs measurement rather than a controller setting alone.

Tip: Ask for the measured spot size at the working surface, and check how it was measured. Compare it with the intended line spacing. If a 100-micrometre spot is paired with 40-micrometre raster spacing, adjacent passes overlap substantially. That can darken edges or soften small text, especially on heat-sensitive material. A higher DPI number may add processing time without revealing finer features.

Run a small test grid on the actual material. Include fine lines, tiny text, and several spacing settings. Inspect it under consistent lighting, then check whether narrow gaps remain open. A lens change or uneven surface can shift the result. Even a careful specification will not predict every material response; the first sample is useful, but not definitive.

Check IEC 60825-1 Laser Class, Enclosure, Interlocks, and Rated Eye Protection

10 Laser Engraving Tips for Buyers to Know

Check the machine’s laser classification against IEC 60825-1, and confirm the label matches the installed laser source. A class label is useful, but it does not prove every setup is safe. Ask for current documentation and note the laser’s wavelength and output. Paperwork can be outdated.

Tips: Open and close the enclosure during a supervised safety check. Interlocks should stop or contain laser emission when a protective panel opens; never bypass them. Look for gaps around doors and viewing windows. A bright room is not a safety test.

Choose eye protection rated for the laser’s wavelength and specified optical density. The markings should match the equipment documentation, not just say “laser safety.” Glasses are a backup, not a substitute for an intact enclosure. Keep them in good condition and accessible to anyone operating the machine. One detail is easy to miss: replacement lenses or modified covers may change protection. If specifications are unclear, pause and ask a qualified laser-safety professional before use.

10 Laser Engraving Buyer Checks

Checklist coverage by topic. The bars count the checks listed below; they are not safety ratings or measured risk levels.

Classification (2): Check the IEC 60825-1 class and request the product’s classification documentation. Enclosure & interlocks (3): Confirm the enclosure limits access to hazardous radiation, interlocks stop emission when access is opened, and the safety features are documented. Eye protection (2): Verify that eyewear is suitable for the laser’s wavelength and provides the specified optical density. Documentation & operation (3): Review the user instructions, warning labels, and maintenance or safety procedures. Requirements depend on the laser and its configuration; consult the applicable standard and qualified safety personnel.

Verify Fume Extraction and Material Safety: Never Laser-Process PVC

When comparing laser engravers, treat fume extraction as a core specification, not an accessory. Ask for the airflow rate under real duct conditions, filter type, replacement schedule, and approved materials. A fan’s advertised rating can drop with long ducts, tight bends, or loaded filters. Small detail, big difference. Confirm whether exhaust is safely routed and whether the filtration system handles the fumes your materials produce. A window hose alone is not a complete safety plan.

Never laser-process PVC, even for a quick test. Heating it can release hydrogen chloride, a corrosive respiratory irritant, and acidic fumes can damage machine components. The NIOSH Pocket Guide to Chemical Hazards lists a 5 ppm ceiling recommended exposure limit for hydrogen chloride over 15 minutes; OSHA also sets a 5 ppm ceiling. Those limits are not targets for routine work. I would not treat a filter label as proof of protection: check its stated gas-removal capability and follow the equipment maker’s material restrictions. If a sample’s composition is uncertain, pause and identify it before engraving.